I’ve secured a space (a la little brother moving out of my parent’s house) to make into my own photo studio! Here is all of the basic gear needed to set up a studio on a budget. After reading photo blogs and watching video reviews, I chose things that are in my budget, but will also make some quality studio setups.
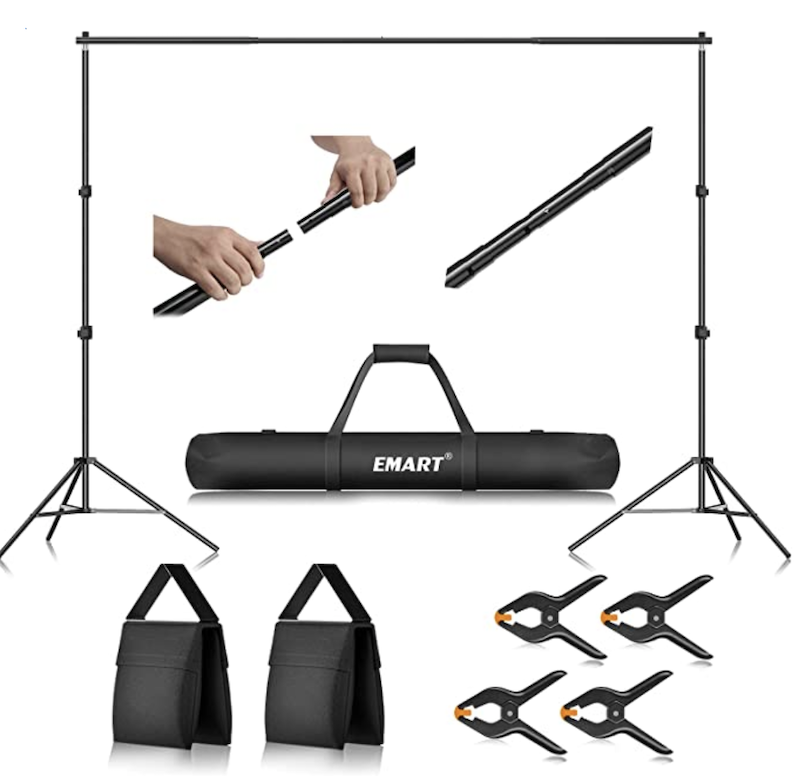
A backdrop stand will hold any backdrop paper, green screen, or other material you are using for shoots. I think an adjustable stand is the most practical, as it will provide more flexibility for different projects. This particular stand can go from 2.6ft x 5ft to 7ft x 10ft.
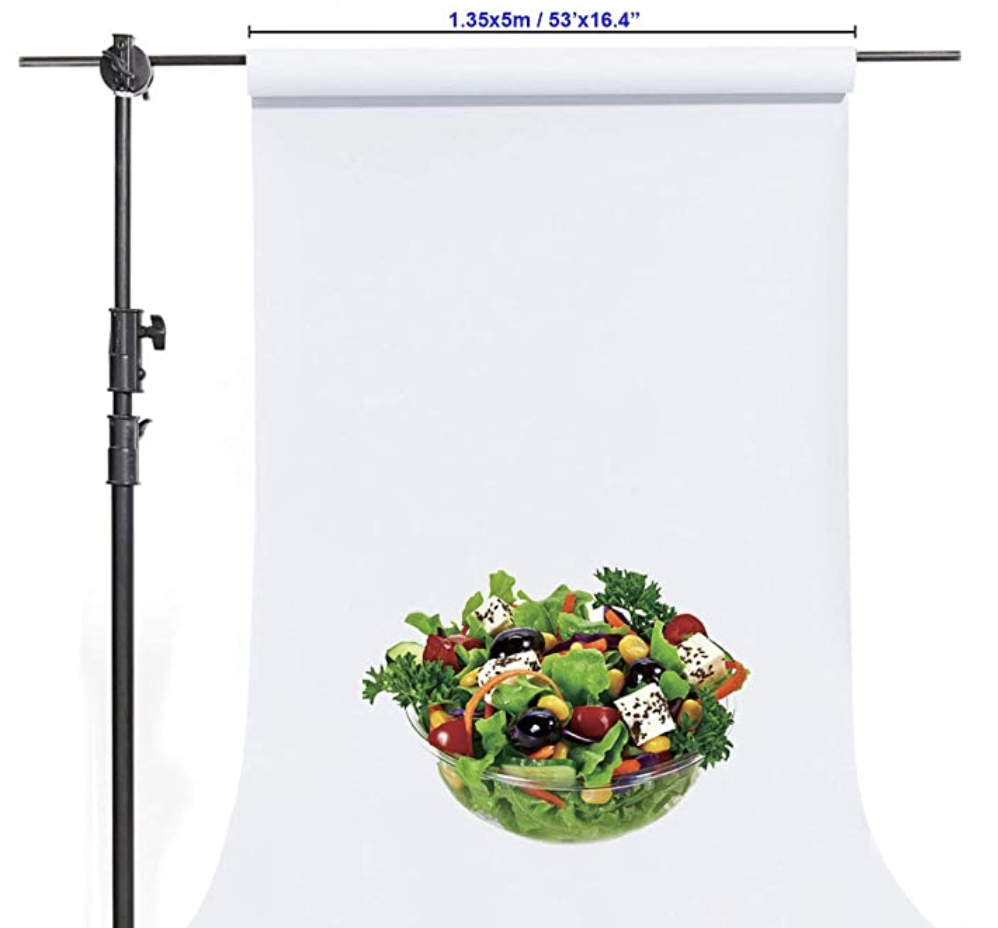
These long rolls of paper make a clean, matte background, and are great for adding a variety of colors to your backdrop. Plus, they make salads look extra delicious!
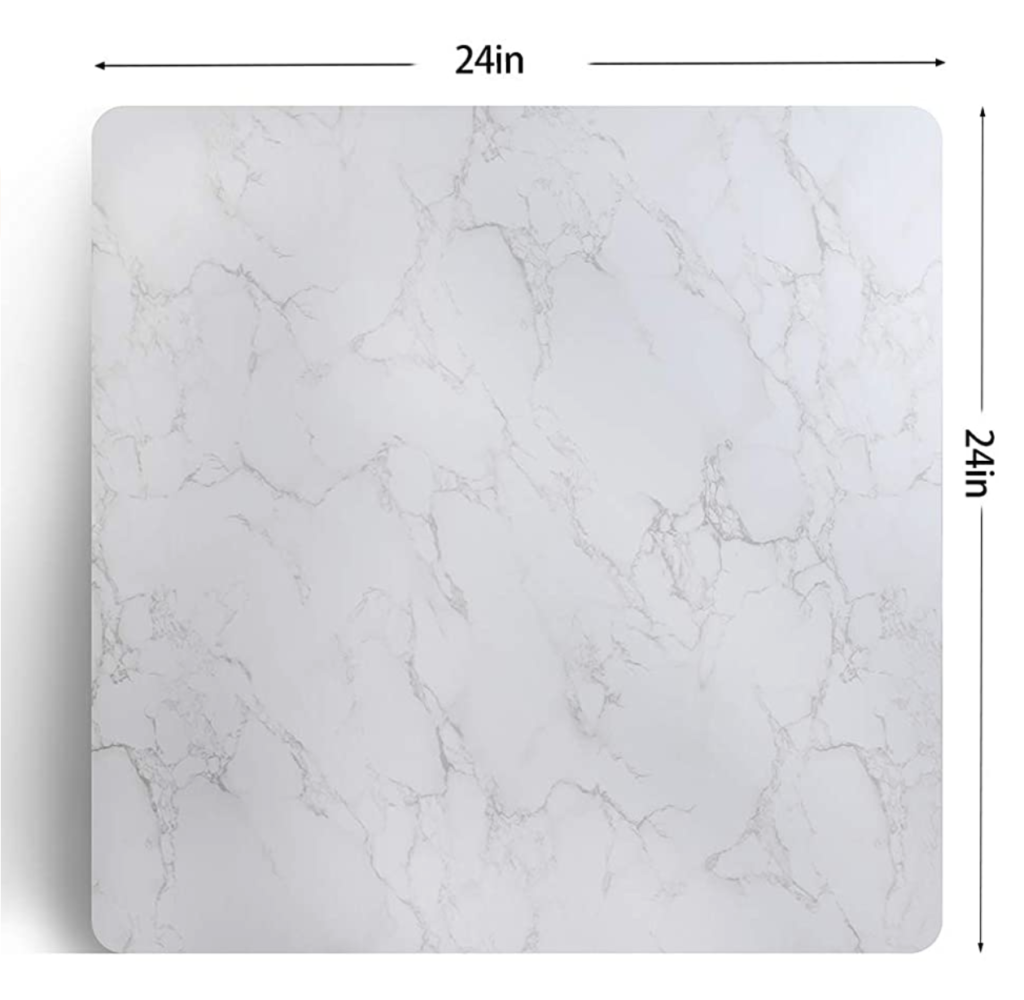
Backdrop boards mimic marble tabletops, wooden tables, and kitchen tiles. They can also clip together, to make a mini tabletop/backsplash combo. Typically, they come small, so are geared for staging food and drinks. A good alternative is to pick up some tile backsplash samples at Home Depot or Lowe’s.
These are great materials to add some wood accents to a set. The clamps come in handy for clipping these backgrounds to boards for a realistic-looking wood table. You can find some in different patterns as well if you are looking to incorporate different textures.
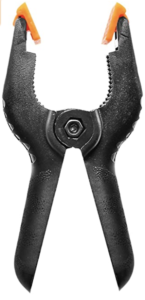
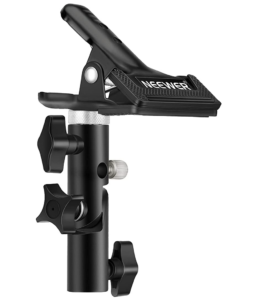
Clamps can be used for almost everything in putting together a set or lighting arrangement. Some examples are: holding back clothing to make it look fitted, holding up backdrop paper or attaching flat lays on boards, holding and positioning lights and reflectors, and attaching props together.
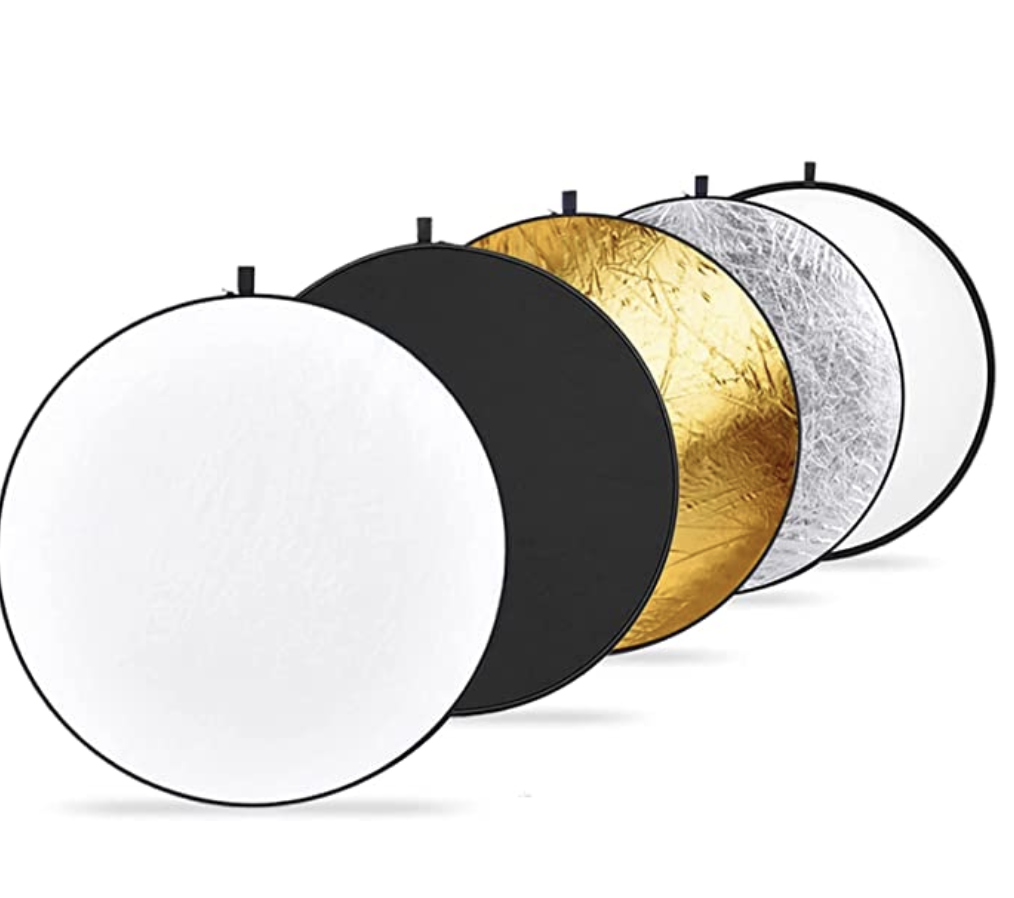
Reflectors are used to manipulate light to hide harsh shadows, even out light on the subject, and adjust how direct the light is. In my experience with photographing packaging, black reflectors hide any weird reflections off shiny surfaces, giving the package an even matte feel. Silver reflectors adds heavier contrast and makes light cooler. Gold makes light appear warmer, and is used to make skin tones warm and bright.
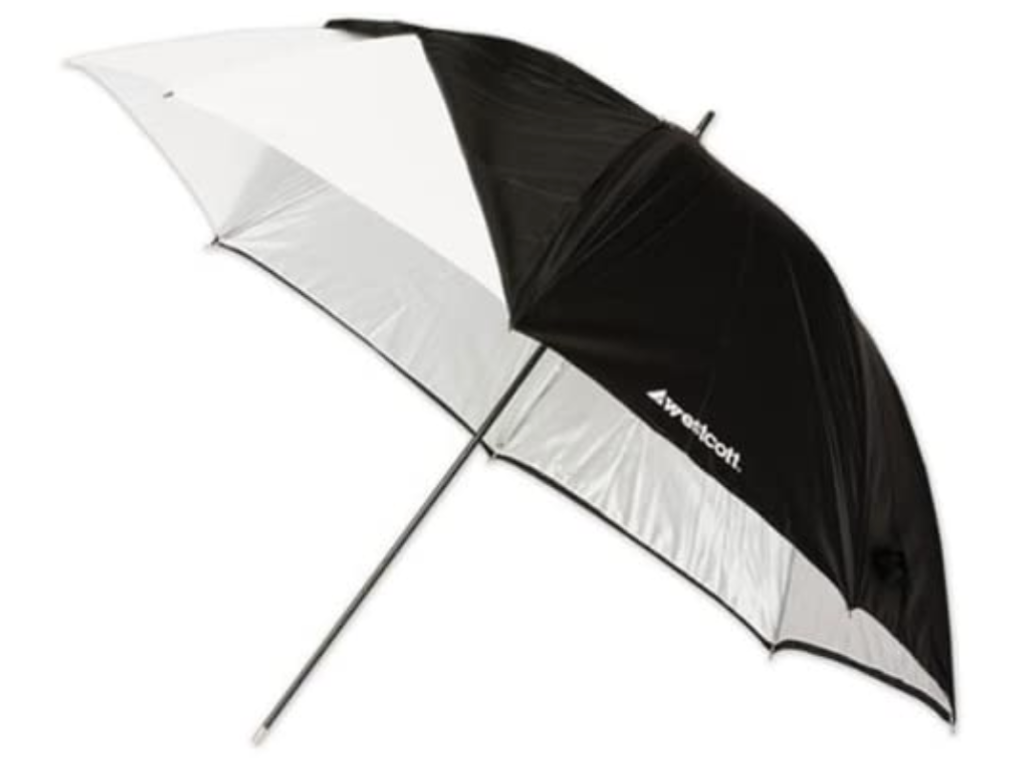
White translucent umbrellas soften and spread light over a larger space. Diffusing harsh light makes it look less direct, which helps you avoid harsh shadows. In contrast, black umbrellas direct the light onto the subject.
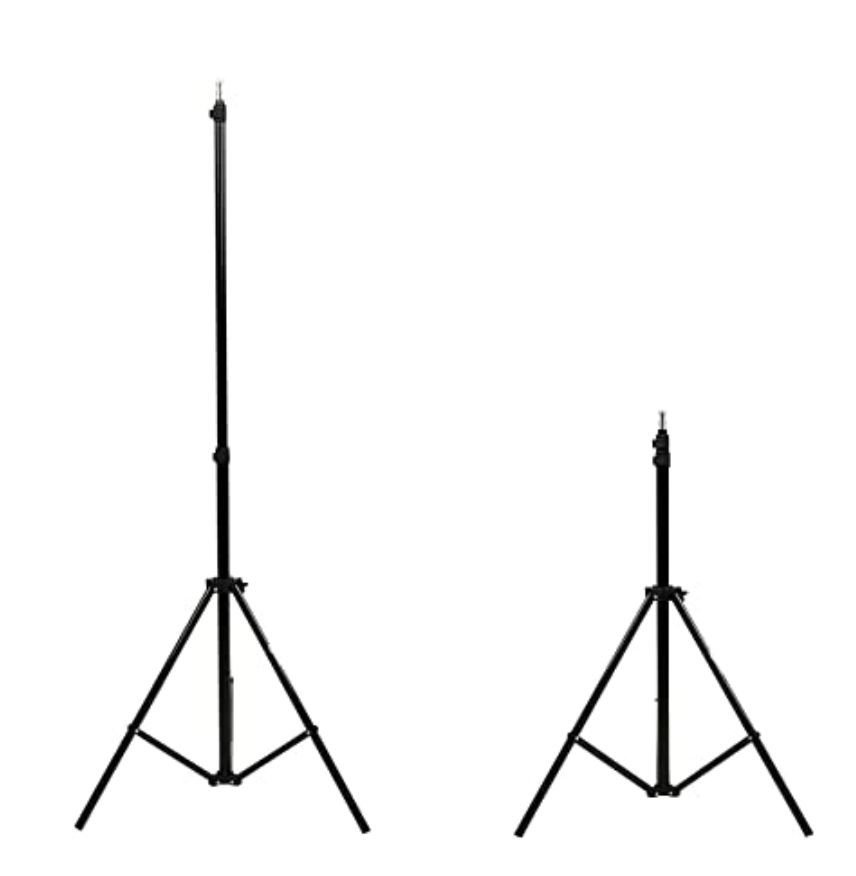
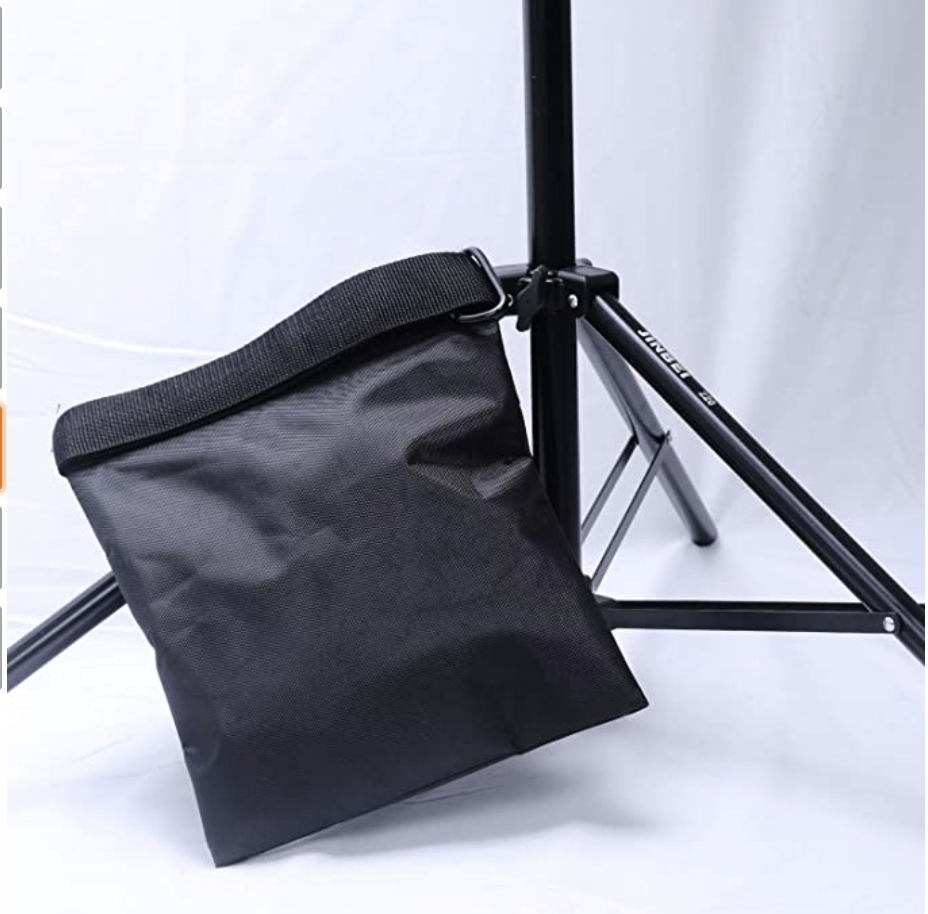
These stands work with a variety of attachments for holding up lights, reflectors, and umbrellas. They are adjustable to make sure placement of lights and other components are completely flexible. I ordered LED panel lights with an attachment for any stand, but the attachment component can be purchased separately depending on the style of light purchased.
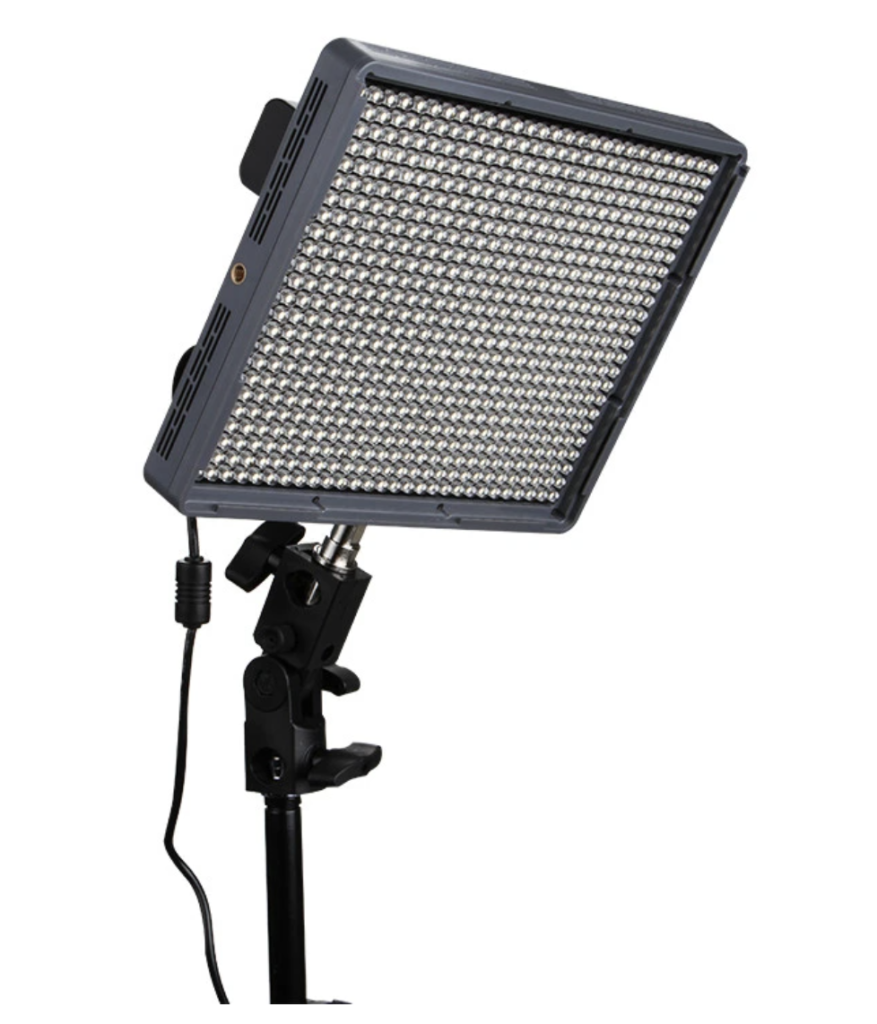
A key light is the main light source. It’s big and bright, which is why I went with the Aperture HR 672 LED Light. It is made to produce natural looking light, has wireless control, is heat-resistant, thin, and durable. It gets super bright, and is about the size of an iPad.
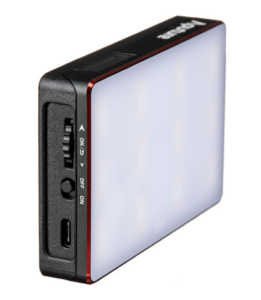
A kicker an accent light to highlight the edges of the subject. This accenting increases the professional quality of the photo, and is an integral part of a basic lighting setup. The MC RGBWW features RGB LEDs, tungsten, and daylight-balanced LEDs. This provides a range of options when it comes to creative lighting, but also works to match and compliment the fill light. It’s about the size of an iPhone, so its portable and convenient.