…or more like MY lighting is making me look cheap! After browsing some of my old photos, I have been looking into purchasing more professional lighting equipment for my shoots.
My current approach to lighting involves the following steps: 1) notice lighting at a good time of day, 2) start prepping the shoot, 3) photograph right as the light starts to fade, 4) switch to overhead kitchen lights, 5) edit the shit out of whatever I end up taking. Needless to say it’s not working.
Here I will be critiquing some client photos I’ve taken in the past. I want to identify the specific areas about lighting I want to improve, as well as compile a decent “how-not-to” guide for any fellow beginners out there.
Artificial or Natural Lighting?
Let’s begin with the basics. Natural light refers to anything coming from the sun. Artificial light is anything else.
Okay, now that we’ve got that covered, here are some fundamentals of using light in the product/food lane of photography:
- It’s up to personal preference. Many people are bias towards natural light, but it all comes down to one question: what is the goal of the photo? Do you want a natural look, or are you looking to display a product in the most accurate way possible?
- The softer, the better. Harsh lighting is super uggo on anything, save some fine-art projects. When using natural light, shoot in either morning, evening, or overcast light. Artificial light can either be complimented or reflected, creating even lighting over the subject.
- More light is better than low light. I’ll dive more into this later.
My Top Three Mistakes
#1: Low and Natural
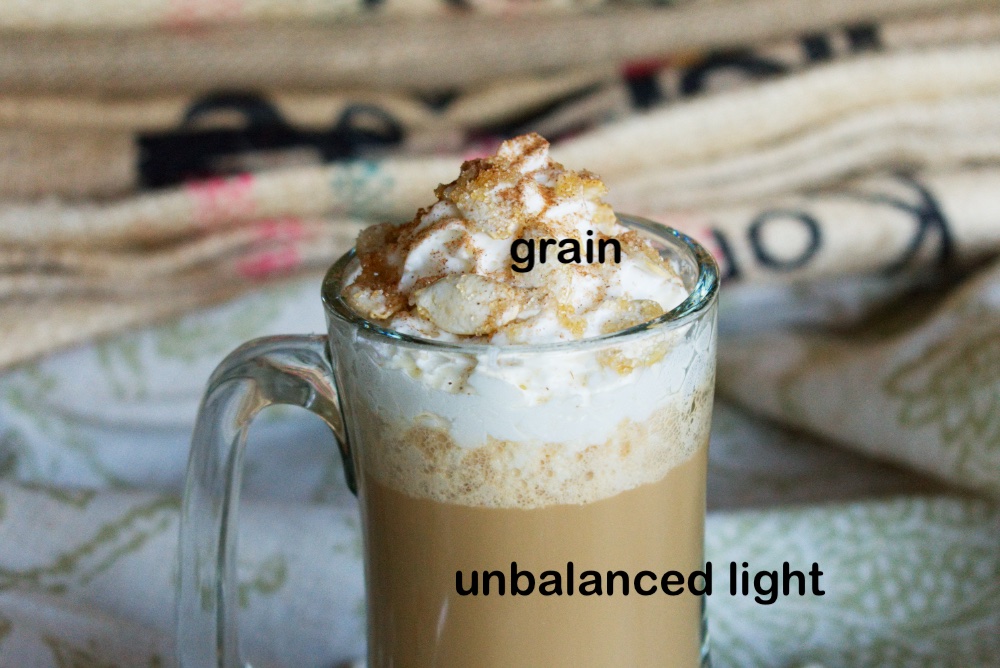
I took this photo using indirect sunlight through a window. First off, there is not enough light, period. To compensate for the lack of light, I raised my ISO, which in turn created excess grain (see photo below for the cringefest).
The problem with low lighting is that it can’t be fixed. Sadly, a high ISO always equals grain. This is a big trend with my photos thus far. I think that more light is better than low light, because the camera is better at capturing a crisp image, and you can always adjust the moodiness in editing.

I also had to alter the exposure in post, which made the grain more apparent.
The natural light also came in at an angle, which caused too many shadows in the image. The uneven lighting makes it difficult for the drink to stand out. I think the photo would have looked better if the main subject was not only evenly lit, but also brighter. This way, there would be a higher contrast between the drink and the background.
#2: Low and Artificial
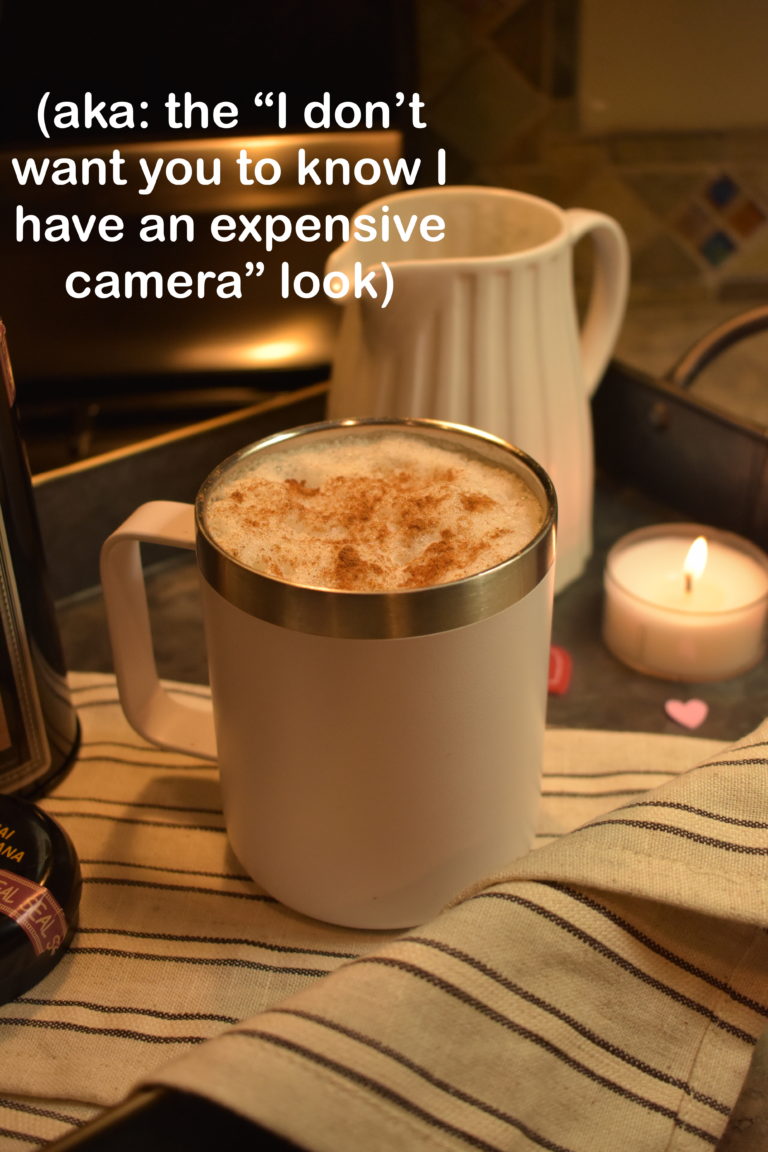
I hate this photo for a few reasons. The composition is off, my last minute drink styling, and the heart-shaped stickers to name a few. In terms of lighting, I used only the overhead lighting in the kitchen on a dim setting, and the small tea candle.
Too much overhead light created lots of reflections on the ceramic cup, but what I gained in moodiness, and I lost in quality. The yellow light also makes it even more obvious I shot it without proper equipment. I’ve noticed that yellow light lowers the quality of my images, particularly when the objects I’m shooting are pure white. A better option would be to shoot with brighter white lights, and mess with the white balance afterwards.
Similar to the photo above, the drink doesn’t stand out against the background (not a big loss considering I don’t think anyone found the cinnamon-foam appetizing at all).
#3: Low PLUS Artificial-Natural Combo

Whoa! A real What was she thinking? moment!
As I mentioned before, I do little to no prep until the light is right to shoot. On this afternoon, the light faded as soon as I was all set up. Tried to compensate with an LED lamp to even out the lighting. I think the main shadow covering the coffee scoop, cup, and mason jar was me standing in front of the window.
The most obvious problems here are the fact that the objects are too dark, and there are patches of contrasting shades of white in the background. The LED lamp was warm, while the window brought in a cooler shade. It was difficult to edit out, and this was the closest I got without going full black and white.
Takeaways
I don’t quite yet have the “after” slideshow of photos. I do, however, have some important takeaways:
- plan and prep a shoot LONG before the light is right
- avoid low-light
- don’t shoot at a high ISO
- make sure the main subject is brightly lit to stand out
- editing cannot compensate for bad lighting
- don’t mix artificial and natural light
Hope you learned something. I’m now going shopping on amazon for a ring light and a real reflector.
Until next time, xoxo